MADE IN THE USA
with American Steel
with American Steel


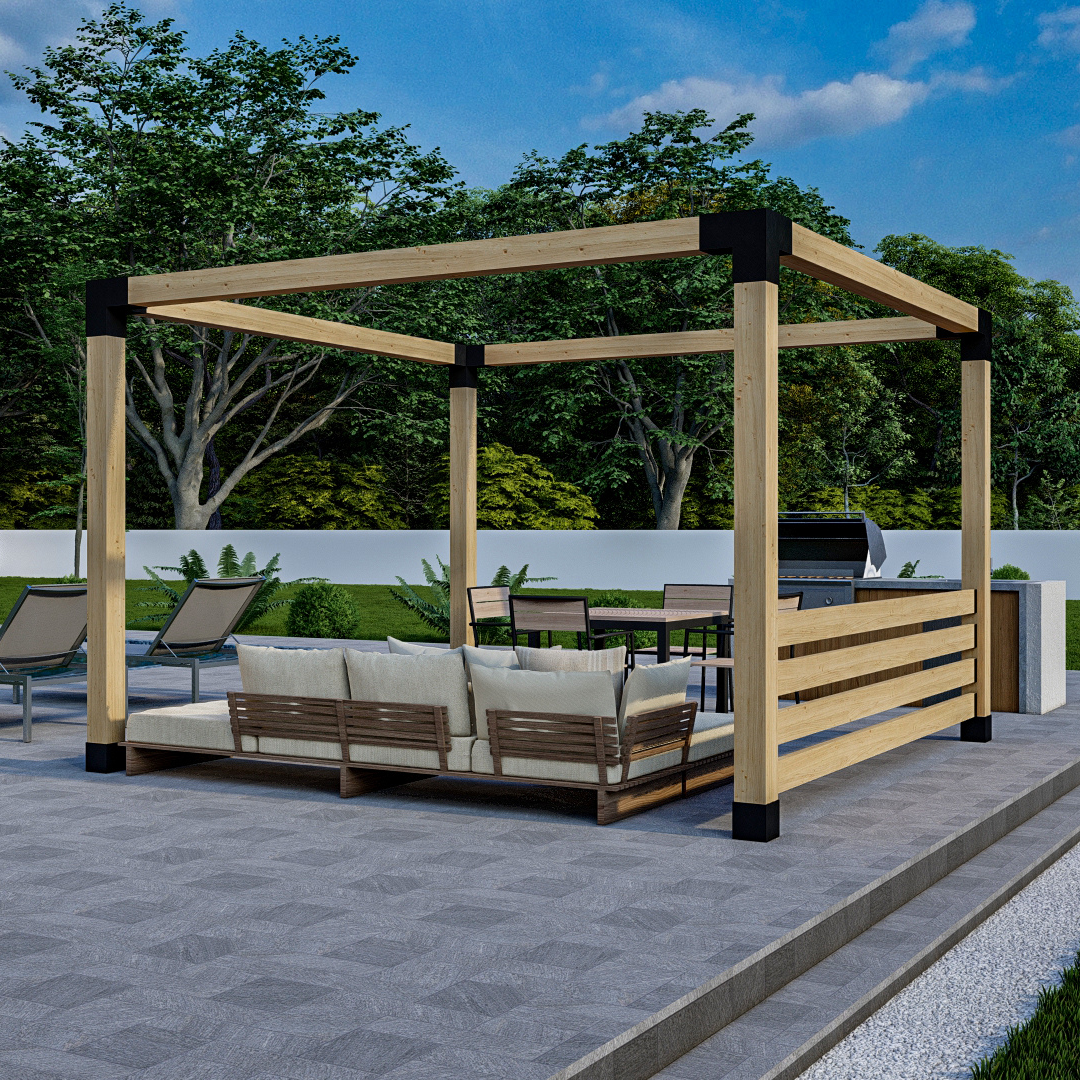
Adding a side railing to your free-standing or attached pergola is quite easy and should take you no more than 1 hour. You won't need any speciality tools, either... just a tape measure, level, drill, ladder and chop saw (aka table saw or miter saw).
Our side railing kits include all the brackets and hardware you'll need to assemble the pergola railing. You'll just need to purchase your 2x6, 2x4, 6x6 or 4x4 wood locally from a building supply or home improvement store.
You'll need the following simple tools to assemble the side railing:


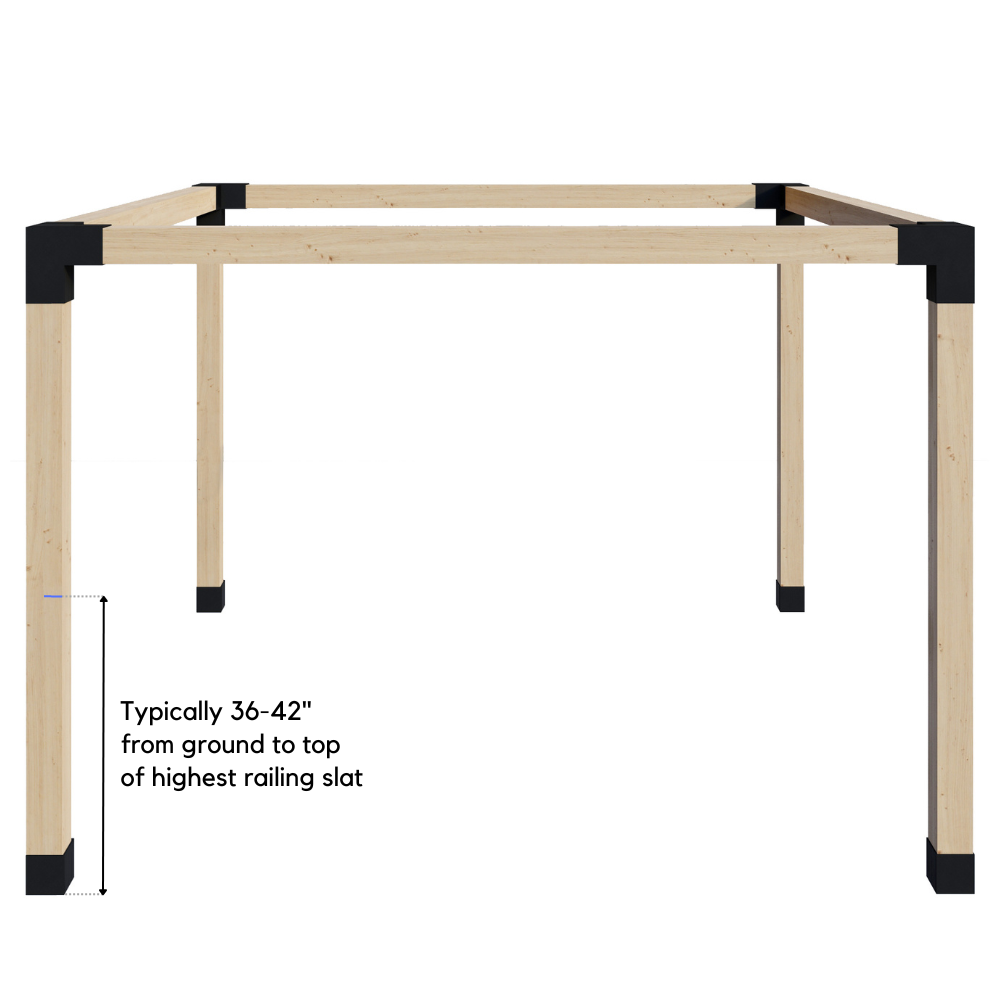
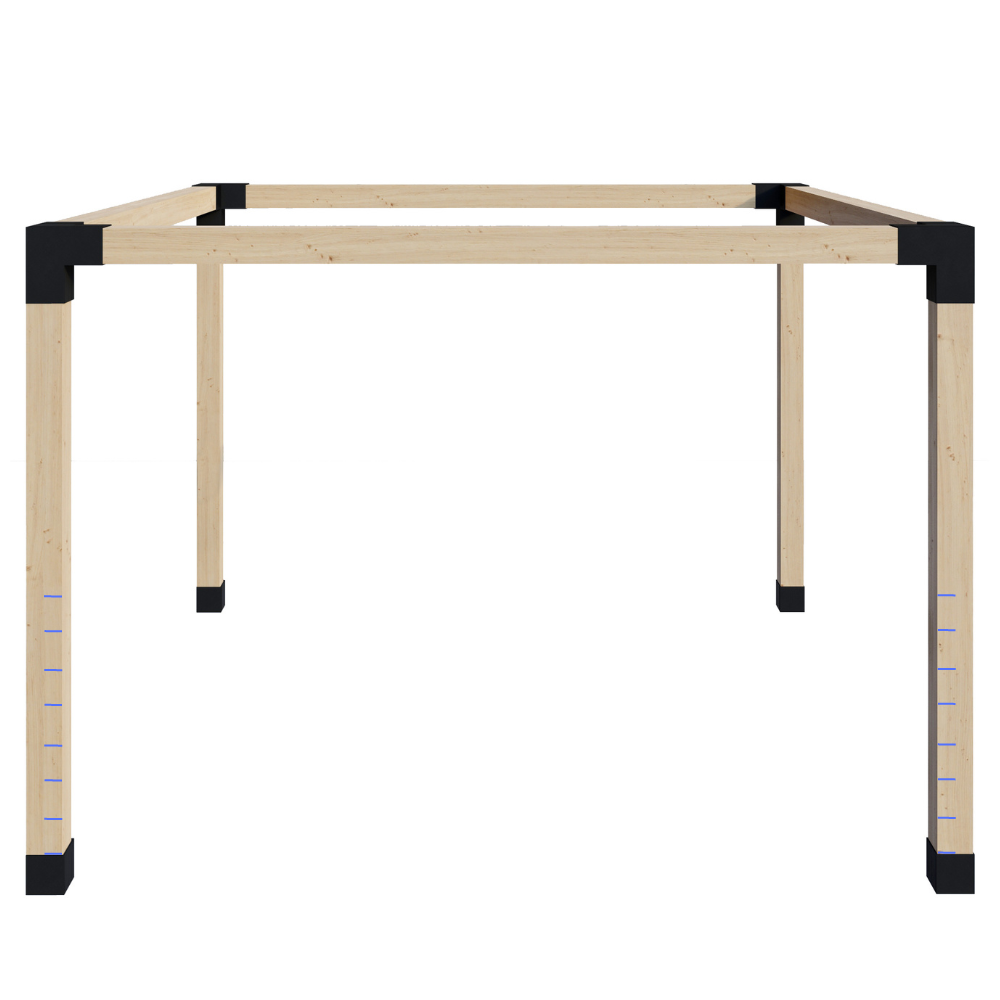
Choose how tall you want your pergola's side railing to be. (Most railings are between 36" and 42" tall.)
Measure the distance between the height you choose and the ground.
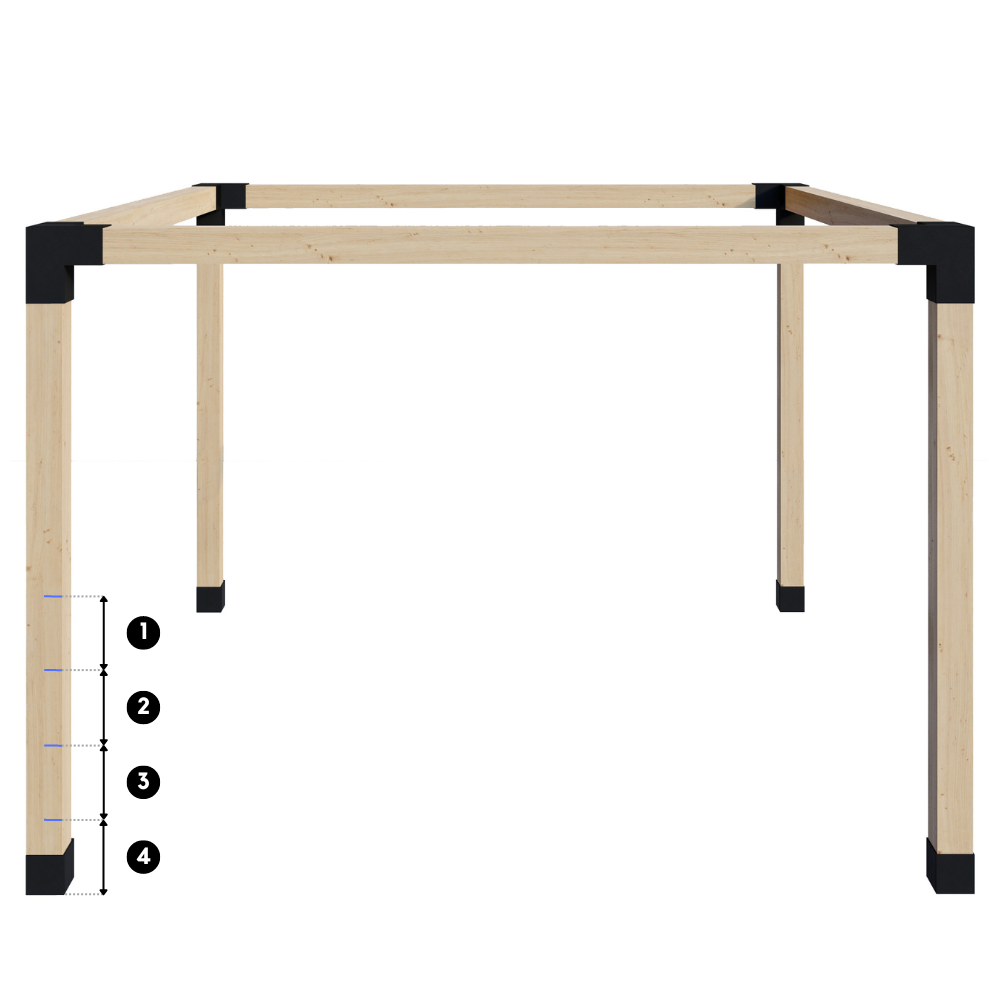
Divide the distance you measured in step 1 by the number of slats your side railing will have.
Starting with the top mark, use a pen/pencil to make marks on the inside (inward-facing side) of the post at the calculated interval. (Note: For illustrative purposes only, these instructional images show the marks on the outside - i.e. outward-facing side - of the post. Don't make your marks here.)
If your calculations are correct, the number of marks you have on the post will equal the number of railing slats you'll be attaching to it. These marks represent the top point for each railing slat.
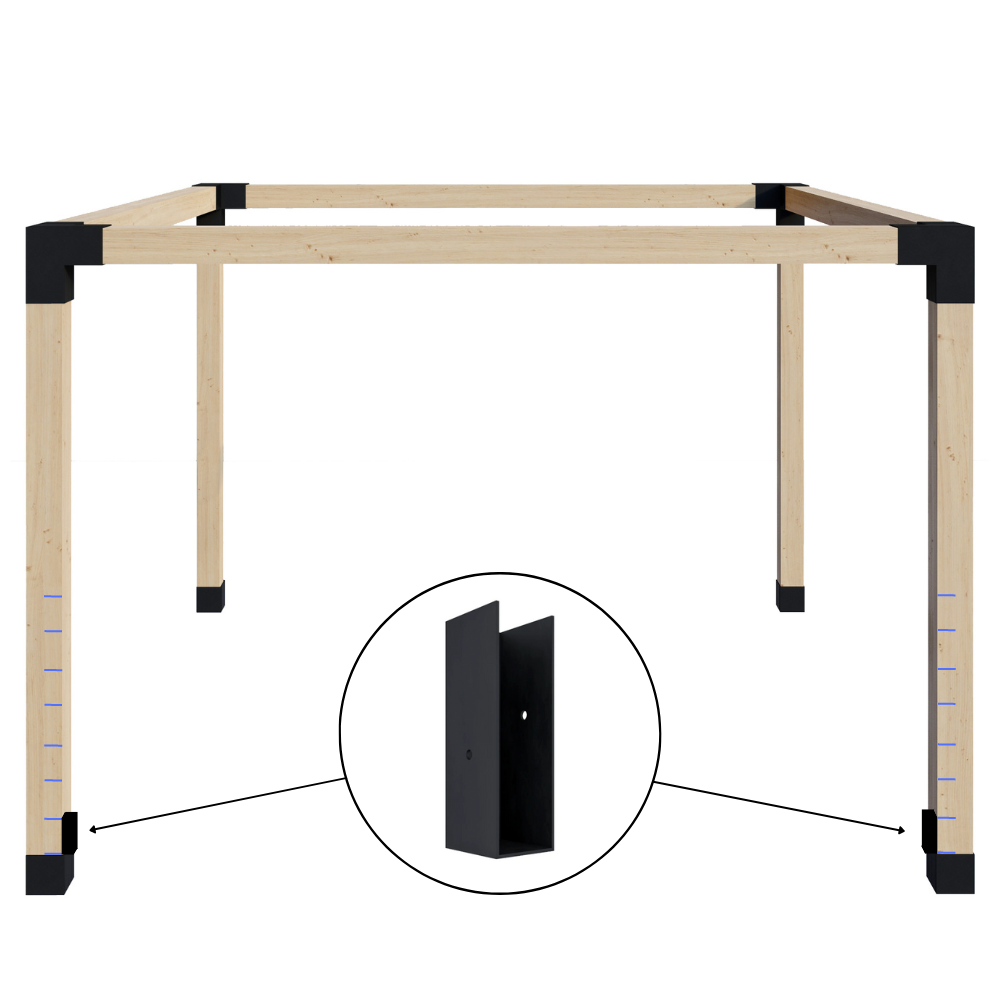
In step 2, you marked the top point for each bracket. In this step, you will mark the bottom point for each of the brackets (starting with the lowest mark closest to the ground).
If your railing slats will be either 2x6s or 6x6s, the insert brackets are 5.6" tall. Therefore, the bottom mark should be 5.6" below the top mark.
If your railing slats will be either 2x4s or 4x4s, the insert brackets are 3.6" tall. Therefore, the bottom mark should be 3.6" below the top mark.
You should start with the mark closest to the ground to ensure that the base bracket will not interfere with the bottom railing slat. Make a mark on the post either 5.6" (if your railing slats will be 2x6s or 6x6s) or 3.6" (if your railing slats will be 2x4s or 4x4s) below the lowest mark on the post. If this new mark is on the wood post, you're good to go. Continue with making the rest of the bottom-point marks for all of the slats. Then proceed to step 4.
IF the bottom-point mark cannot be made on the wood post due to the base bracket being in the way, you'll need to: a) put markings for the bottom slat/bracket at the very bottom of the wood post (such that the base bracket and the lowest insert bracket are basically touching each other), and b) re-calculate the top point for the other slats/brackets by taking the distance between the top-point of the top slat and the top-point of the bottom slat and dividing by the total number of railing slats minus 1. (For example, if there are 4 total slats, you would divide by 3.)
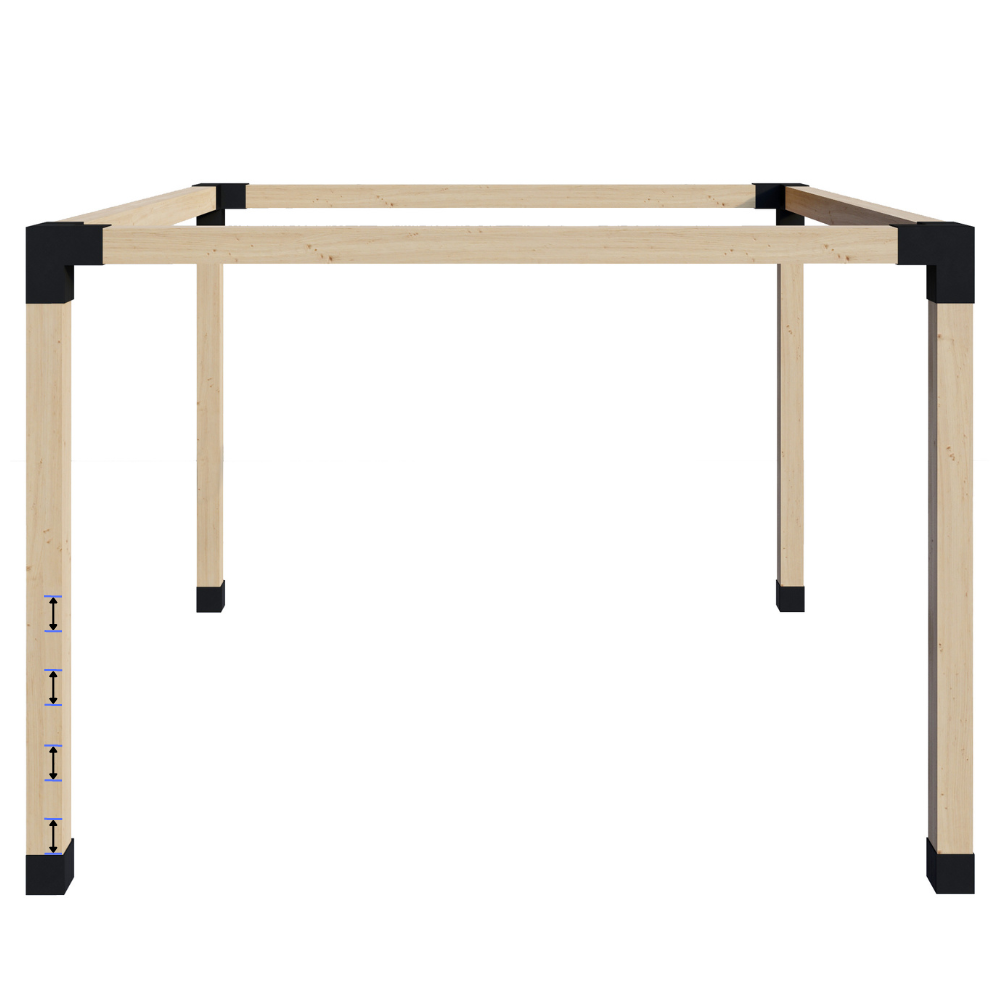
Make corresponding top- and bottom-point marks for each railing slat on the other post to which the slats will be secured. To ensure that the slats are all level, the best way to make these markings on the other post is to use a string and level. (But you can also make the markings following the same steps you just completed above.)
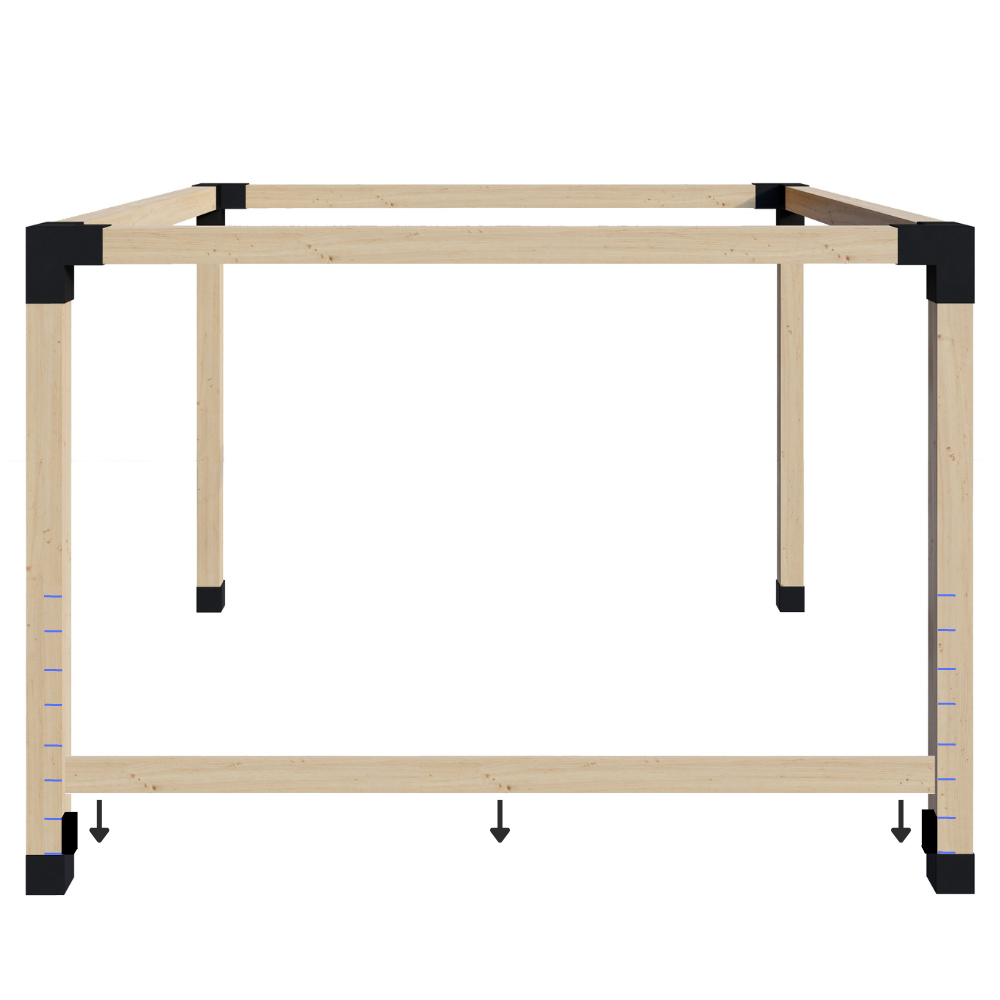
Secure the bottom insert brackets to the posts using 2 stainless steel screws per 2x6 or 2x4 insert bracket (or 4 screws per 6x6 or 4x4 insert bracket). Make sure the open side of the bracket is facing up so the railing slats can be slid into place from above.
In the case of 2x6 and 2x4 insert brackets, the ~1.6" width of the bracket obviously won't use the full width of the post. Most customers choose to center the brackets width-wise on the posts. If desired, however, you can place the brackets on the outer edge of the posts (such that the outside edge of the bracket is flush with the outside edge of the post) or inset them any distance you'd like.
After measuring the exact distance between the inside edges of the vertical posts (and using a chop saw to trim the slat down to size if necessary), slide the railing slat into the brackets from above. Then use stainless steel screws (included in your kit) to secure the slat to the insert brackets.
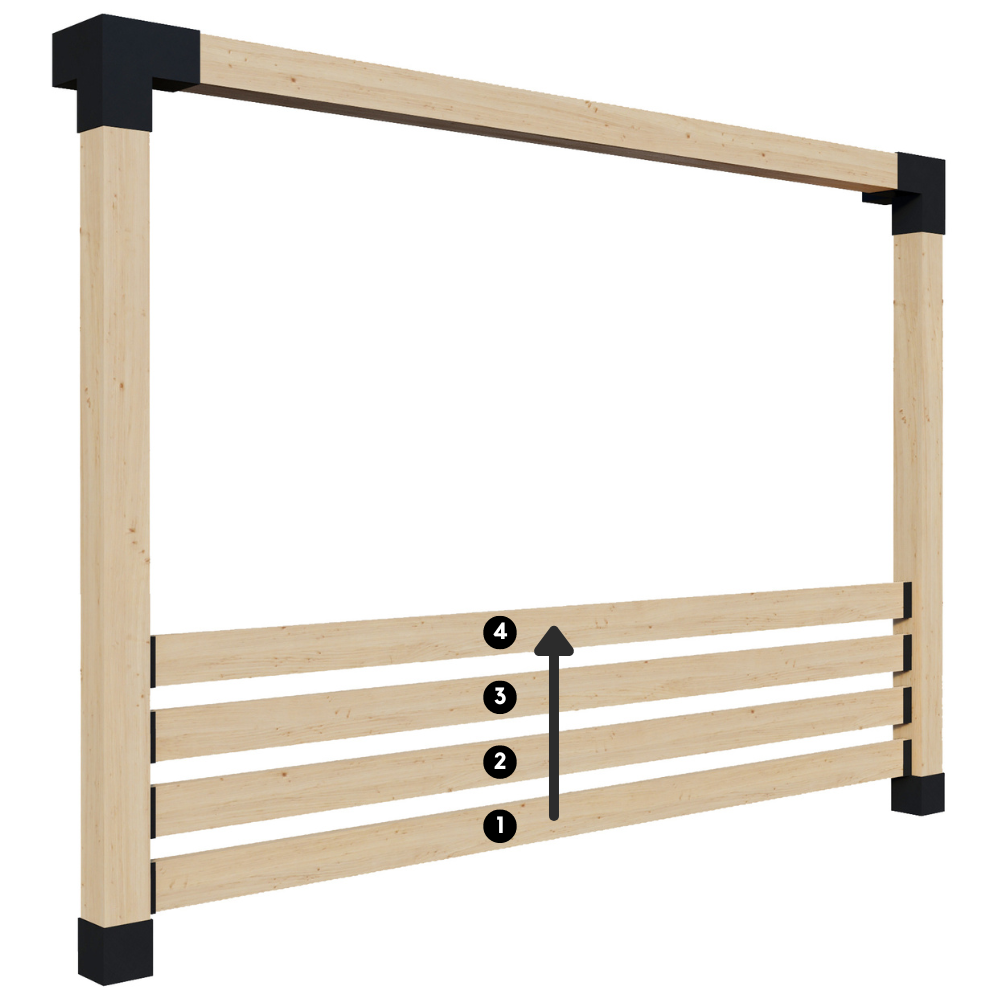
Repeat step 5 (attach an insert bracket to each post) and step 6 (slide in the slat from above and secure it to the insert brackets) over and over again, one slat at a time, working your way up from the bottom of the side railing to the top.
Once you've secured the top slat, your side railing is complete.